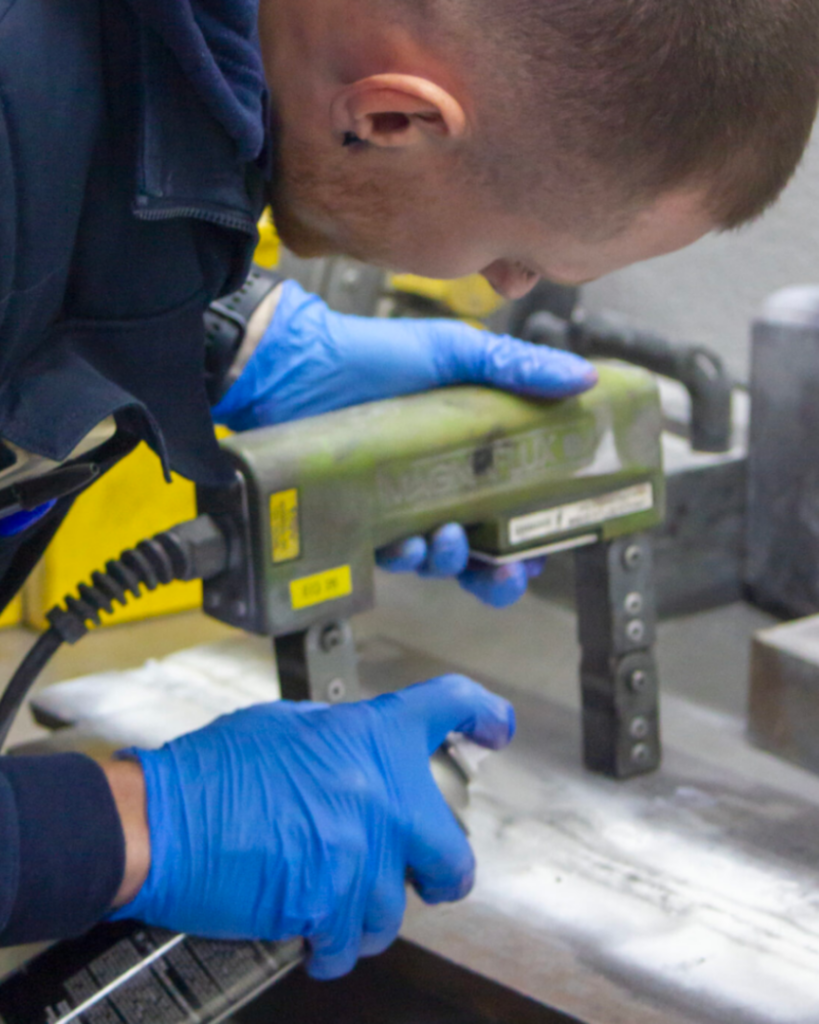
Magnetic Particle Inspection (MT/MPI)
Magnetic Particle Non Destructive Testing (known as MPI or MT) is sometimes specified in addition to visual examination on welds. Magnetic Particle Inspection is used to find any imperfections that may not be immediately visible to the naked eye or where a small amount of assisted magnification is used.
How Does It Work?
For Magnetic Particle Inspection, the specimen is magnetised (either locally or in an overall capacity) using either directly (when an electromagnetic current is passed through the material) or indirectly (when a magnetic field is applied from an outside source). If the integrity of the material is sound, the magnetic flux is predominantly contained within the material, however, if the surface of the material is flawed, local magnetic flux leakage appears surrounding the flaw. This leakage flux is displayed by applying very fine iron particles to the surface of the material, which when magnetised will accumulate around the area of flux leakage, which produces a build up that can be seen by the eye even when the crack or imperfection in the weld is too small to be detected by a visual welding inspection. This allows for much smaller imperfections to be detected on the surface of the weld during an MPI inspection of welds.
These iron particles can either be used dry or, more commonly, suspended in a liquid known as magnetic ink. These are applied before and during the magnetisation process, while the electric current is still flowing through the material, but sometimes residual magnetisation is used, where the particles are applied after magnetisation. Some forms of steel are able to hold magnetisation for longer, which allows for smaller, more portable methods of MPI inspection of welds to be used.
Using a combination of two magnetic fields can produce a magnetic flux that swings and rotates, which can help detect a crack in any orientation of the material, which can be very helpful when carrying out a Magnetic Particle Inspection.

Limitations To Be Considered:
MPI inspection of welds is particularly sensitive to surface-breaking or near-surface imperfections such as cracks, even if the crack opening is very narrow. However, if the crack runs parallel to the magnetic field, there is little disturbance to the magnetic field, and it is unlikely that the crack will be detected. For this reason, it is recommended that the inspection surface is magnetised in two directions at 90° to each other. Alternatively, techniques using swinging or rotating magnetic fields can be used to ensure that all orientations of crack are detectable.
An MPI test cannot however be used to detect deeply embedded flaws, nor can it be used on non-ferromagnetic materials, such as aluminum, copper or austenitic stainless steel.
Magnetic Particle Inspection is also widely used on forgings, mechanical fixings such as bolts, castings and other product forms that have a ferromagnetic capability.
Visit SureCheck Today
For some product forms SureCheck can utilise our bench units and apply fluorescent techniques for improved sensitivity.
Standard yoke methods can be performed both at our NDT testing UK facility in Cannock or on site at our customers nominated locations.

